1.1 윈도 10에서 우분투로 개발 환경 구축하기
윈도 이용자라면 EOS 개발 환경이 그리 달갑지 않을 것입니다. EOS 개발을 하기 위해선 앞의 리눅스 OS 중 하나가 반드시 필요합니다. 다행히 윈도에서 리눅스를 사용하는 방법이 몇 가지 있습니다.
윈도에서 리눅스를 사용하는 가장 대표적인 방법은 가상머신(Virtual Machine)을 설치하고 그 위에 리눅스 인스턴스를 올리는 방법입니다.
Windows 설정 변경
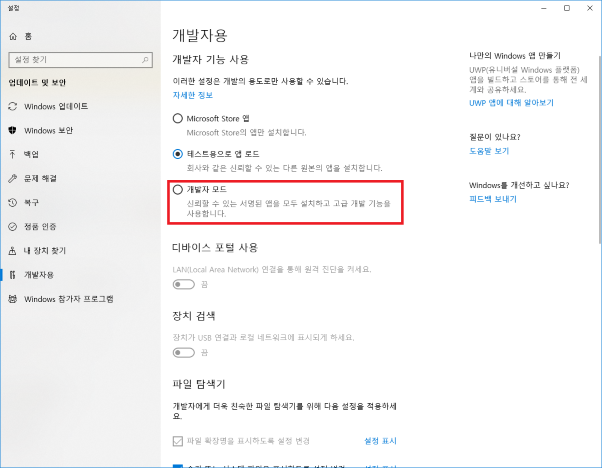
윈도10에서 리눅스을 이용하려면 몇 가지 사전 준비가 필요합니다. 먼저 [설정] → [개발자용] 탭에서 개발자 기능 사용을 개발자 모드로 변경합니다.
< Windows10 개발자용 설정 변경 화면 >
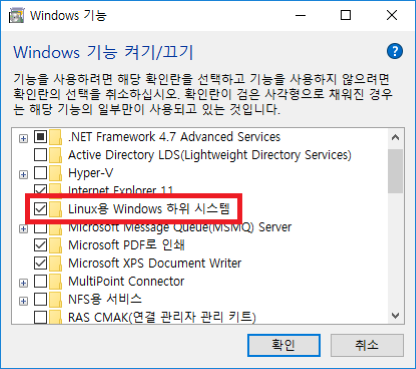
[제어판] → [프로그램 및 기능] → [Windows 기능 켜기/끄기] 탭에서 Linux용 하위 시스템을 체크한 후 컴퓨터를 재시작합니다.
< Windows 기능 켜기/끄기 환경설정 화면 >
마이크로소프트 스토어에서 리눅스 설치
사전 설정을 모두 마쳤다면 이제 마이크로소프트 스토어에서 제공하는 Linux 앱을 설치합니다.
< Microsoft Store에서 linux를 검색한 화면 >
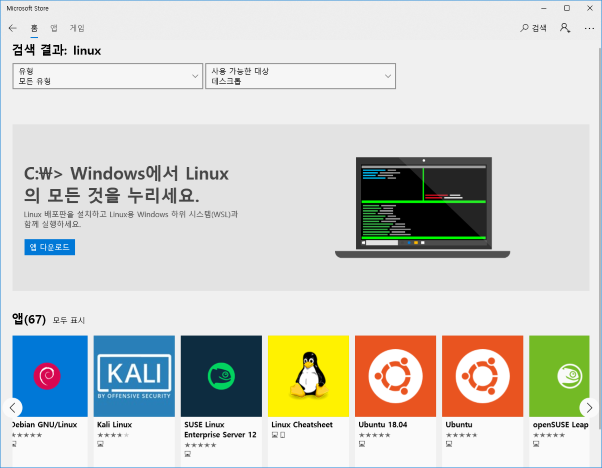
마이크로소프트 스토어에서는 다양한 리눅스를 제공하는데, 본인에게 익숙한 리눅스를 선택하면 됩니다. 이 책에서는 우분투 18.04을 선택했습니다.
< Microsoft Store ubuntu 설치 화면 >
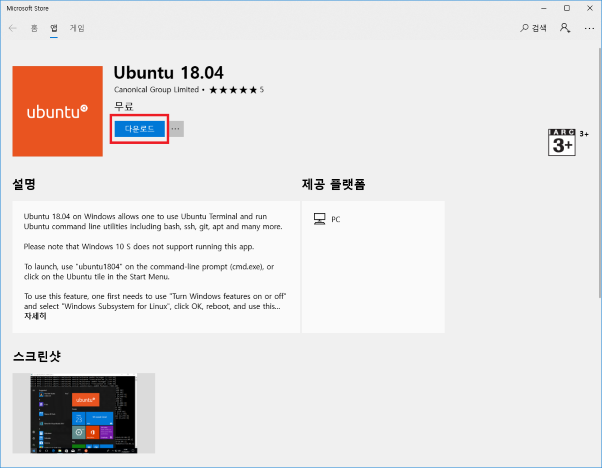
우분투를 내려받은 후 실행하면 다음과 같이 설치가 시작됩니다.
< 설치된 ubuntu 콘솔 첫 실행 화면 >
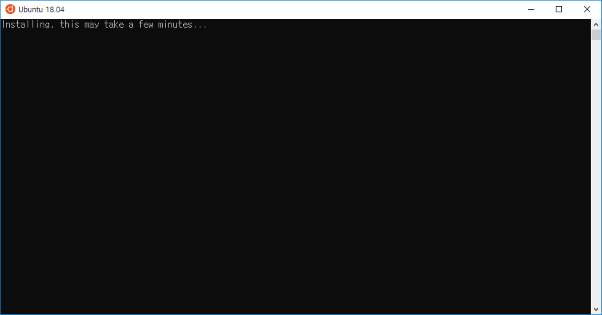
Result : Installing, this may take a few minutes…
설치가 완료되면 사용자 이름을 묻습니다. 윈도 사용자 이름과 같을 필요는 없습니다. 원하는 이름과 비밀번호를 입력하면 리눅스 설치가 끝납니다.
< 설치가 완료되어, 사용자를 설정하는 화면 >
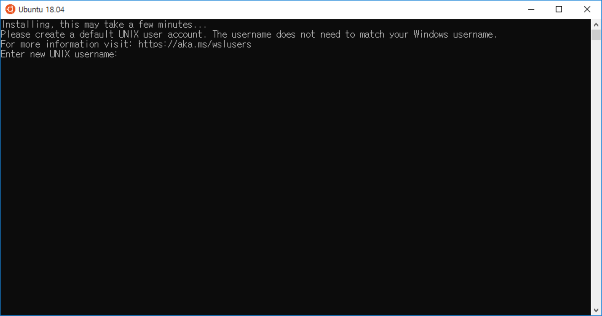
```
Result : Please create a default UNIX user account. The username does not need to match your Windows username.
For more information visit: http://aka.ms/wslusers
Enter new UNIX username:

```
EOS 설치 준비
리눅스 환경을 구축했다면 바로 EOS 설치가 가능합니다. 하지만 설치 전에 해두면 좋은 세팅이 있습니다. 단지 권장이지만, 미리 한다면 설치 시간을 많이 절약할 수 있습니다.
우분투는 apt-get 패키지 다운로드 서버가 미국 메인 서버로 등록되어 있습니다. 이 서버는 다운로드 속도가 느려 EOS를 내려받는데 며칠이나 걸립니다. 따라서 다운로드 서버를 변경하는 게 좋습니다. 다운로드 서버는 sources.list 파일로 변경할 수 있습니다. 다음 명령어로 sources.list 엽니다.
```
 $ cd /etc/apt/
 $ sudo vim sources.list

```
sources.list 파일은 readOnly 파일입니다. 수정하려면 vim 앞에 sudo 명령어를 꼭 붙여야 합니다.
< sources.list 파일 변경 전 화면 >
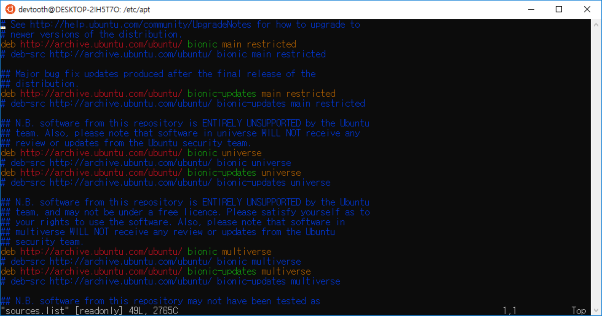
```
# See http://help.ubuntu.com/community/UpgradeNotes for how to upgrade to
# newer versions of the distribution.
deb http://archive.ubuntu.com/ubuntu/ bionic main restricted
# deb-src http://archive.ubuntu.com/ubuntu/ bionic main restricted

## Major bug fix updates produced after the final release of the
## distribution.
deb http://archive.ubuntu.com/ubuntu/ bionic-updates main restricted
# deb-src http://archive.ubuntu.com/ubuntu/ bionic-updates main restricted

## N.B. software from this repository is ENTIRELY UNSUPPORTED by the Ubuntu
## team. Also, please note that software in universe WILL NOT receive any
## review or updates from the Ubuntu security team.
deb http://archive.ubuntu.com/ubuntu/ bionic universe
# deb-src http://archive.ubuntu.com/ubuntu/ bionic universe
deb http://archive.ubuntu.com/ubuntu/ bionic-updates universe
# deb-src http://archive.ubuntu.com/ubuntu/ bionic-updates universe

## N.B. software from this repository is ENTIRELY UNSUPPORTED by the Ubuntu
## team, and may not be under a free licence. Please satisfy yourself as to
## your rights to use the software. Also, please note that software in
## multiverse WILL NOT receive any review or updates from the Ubuntu
## security team.
deb http://archive.ubuntu.com/ubuntu/ bionic multiverse
# deb-src http://archive.ubuntu.com/ubuntu/ bionic multiverse
deb http://archive.ubuntu.com/ubuntu/ bionic-updates multiverse
# deb-src http://archive.ubuntu.com/ubuntu/ bionic-updates multiverse

```
기본 다운로드 서버 주소는 http://archive.ubuntu.com/ubuntu/입니다. 이 서버 주소를 http://ftp.daumkakao.com/ubuntu/로 변경해야 합니다. vim 에디터에서 다음 명령어로 문자열을 바꿉니다.
```
 :%s/archive.ubuntu.com/ftp.daumkakao.com

```
:wq 명령어로 저장하고 종료합니다. 다음 apt-get 명령어로 정상적으로 수정됐는지 확인합니다.
```
 $ sudo apt-get update
 $ sudo apt-get upgrade -y

```
< sources.list 파일 변경 후 화면 >
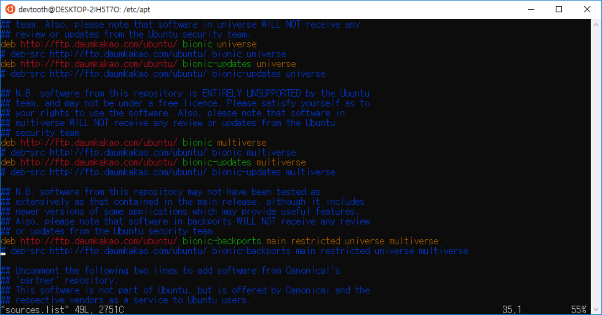
```
# See http://help.ubuntu.com/community/UpgradeNotes for how to upgrade to
# newer versions of the distribution.
deb http://ftp.daumkakao.com/ubuntu/ bionic main restricted
# deb-src http://ftp.daumkakao.com/ubuntu/ bionic main restricted

## Major bug fix updates produced after the final release of the
## distribution.
deb http://ftp.daumkakao.com/ubuntu/ bionic-updates main restricted
# deb-src http://ftp.daumkakao.com/ubuntu/ bionic-updates main restricted

## N.B. software from this repository is ENTIRELY UNSUPPORTED by the Ubuntu
## team. Also, please note that software in universe WILL NOT receive any
## review or updates from the Ubuntu security team.
deb http://ftp.daumkakao.com/ubuntu/ bionic universe
# deb-src http://ftp.daumkakao.com/ubuntu/ bionic universe
deb http://ftp.daumkakao.com/ubuntu/ bionic-updates universe
# deb-src http://ftp.daumkakao.com/ubuntu/ bionic-updates universe

## N.B. software from this repository is ENTIRELY UNSUPPORTED by the Ubuntu
## team, and may not be under a free licence. Please satisfy yourself as to
## your rights to use the software. Also, please note that software in
## multiverse WILL NOT receive any review or updates from the Ubuntu
## security team.
deb http://ftp.daumkakao.com/ubuntu/ bionic multiverse
# deb-src http://ftp.daumkakao.com/ubuntu/ bionic multiverse
deb http://ftp.daumkakao.com/ubuntu/ bionic-updates multiverse
# deb-src http://ftp.daumkakao.com/ubuntu/ bionic-updates multiverse

```
다운로드 서버가 성공적으로 변경되고 나면 다음과 같이 업데이트가 진행됩니다. 이제 EOS를 설치할 준비가 모두 끝났습니다.
< apt-get update 화면 >
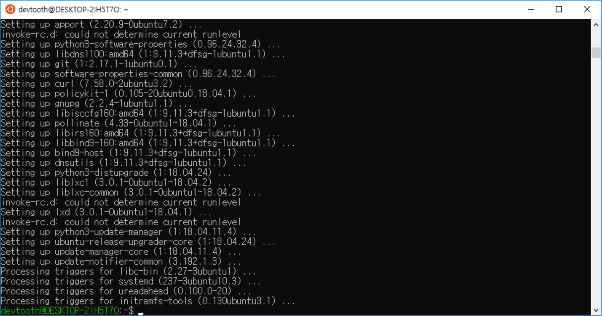
```
Result :
...생략….
Processing triggers for libc-bin (2.27-3ubuntu1)...
Processing triggers for systemd (237-3ubuntu10.3)...
Processing triggers for ureadahead (0.100.0-20)...
Processing triggers for initranfs-tools (0.130ubuntu3.1)..
```
EOS 설치
EOS 개발 환경을 구축할 차례입니다. 먼저 eosio 깃허브에서 EOS 파일을 가져와야 합니다. 파일을 가져올 폴더를 생성한 후 해당 폴더 위치에서 다음 명령어를 입력합니다. eos란 폴더를 만들고 깃허브의 파일을 복사하라는 명령어입니다.
```
$ git clone https://github.com/EOSIO/eos --recursive

```
Git 폴더가 성공적으로 복사가 되면, eos라는 폴더가 생긴 것을 확인할 수 있습니다.
< git을 이용하여 EOS를 clone한 화면 >
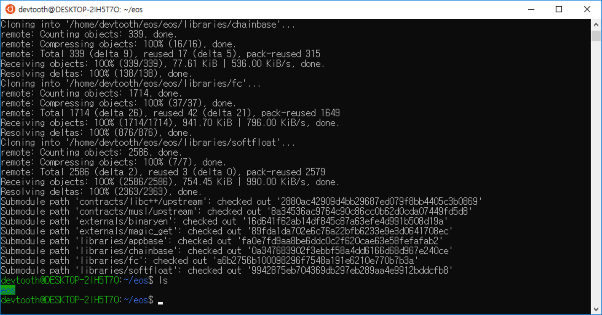
eos 폴더로 이동 후, eosio_build.sh 파일을 실행하여 EOS를 설치합니다.
```
Result :
……
Submodule path 'libraries/appbase': checked out '3e38ccb3dacee8c53ed6d3d5a59d1f6d4f0c96cf'
Submodule path ''libraries/chainbase': checked out 'f1b1edd50b6d3f471376034fe6fd96dc1ab0a2f9'
Submodule path 'libraries/fc': checked out '5e49eb58072f2cc63879ea7f990f254e7514c774'
Submodule path 'libraries/softfloat': checked out '88b5e4c8e7e058df0cec57f676089e4f03c639be'

```


```
 $ ./eosio_bulid.sh
```
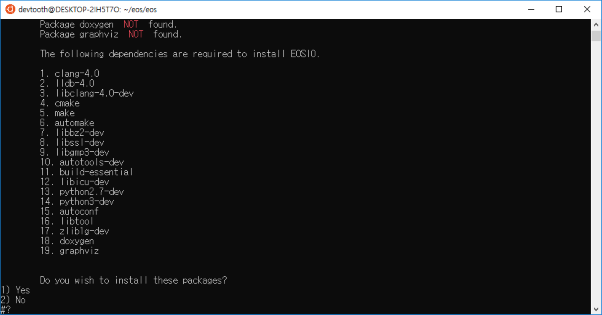
< EOS 설치화면 1 - package 설정 >
```
result :
The following dependencies are required to install EOSIO

clang-4.0
lidb-4.0
	…(생략)
    19. graphviz

Do you wish to install these packages?
Yes
No

```
패키지를 설치할 거냐고 묻는데, 여기서 1을 입력하여 설치가 시작됩니다. 환경에 따라 다르지만 설치에는 60~90분 정도가 소요됩니다. 설치가 완료되면 EOSIO 로고가 나타날 것입니다. 설치에 실패한 경우 다음 명령어로 재설치를 시도합니다.
```
 $ ./eosio_build.sh

```
< EOS 설치화면 2 - 빌드 >
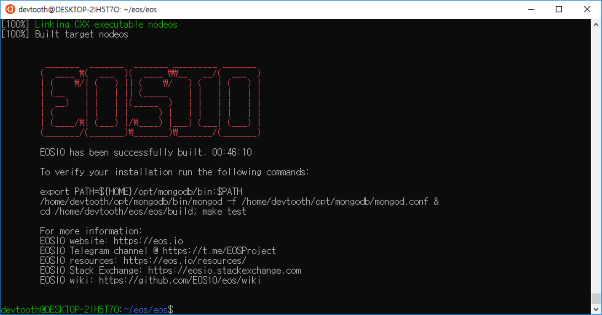
```
result :
[100%] Linking CXX executable unit_test
[100%] Built target unit_test
_______  _______  _______ _________ _______
(  ____ \(  ___  )(  ____ \\__   __/(  ___  )
| (    \/| (   ) || (    \/   ) (   | (   ) |
| (__    | |   | || (_____    | |   | |   | |
|  __)   | |   | |(_____  )   | |   | |   | |
| (      | |   | |      ) |   | |   | |   | |
| (____/\| (___) |/\____) |___) (___| (___) |
(_______/(_______)\_______)\_______/(_______)
EOSIO has been successfully built. 00:11:21
To verify your installation run the following commands:
/usr/local/bin/mongod -f /usr/local/etc/mongod.conf &
cd /Users/scion/git/eos/build; make test
For more information:
EOSIO website: https://eos.io
EOSIO Telegram channel @ https://t.me/EOSProject
EOSIO resources: https://eos.io/resources/
EOSIO Stack Exchange: https://eosio.stackexchange.com
EOSIO wiki: https://github.com/EOSIO/eos/wiki

```
다음으로는 실행 파일을 설치해야 합니다. eos/build 경로로 이동하여 다음 명령어를 입력합니다.
```
 $ sudo make install

```
실행 파일은 빠르게 설치되며, 설치가 완료되면 다음과 같은 화면이 출력됩니다.
< EOS 설치화면 3 - install >
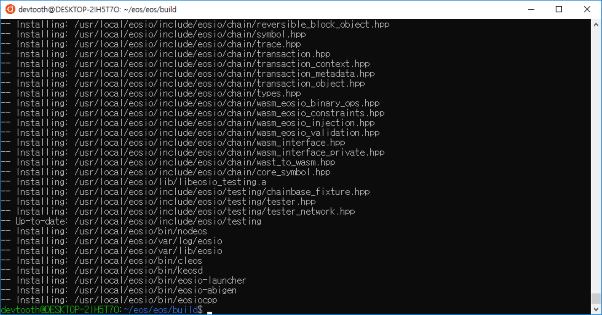
```
result :
…생략…
-- Up-to-date: /usr/local/eosio/include/eosio/testing
-- installing: /usr/local/eosio/bin/nodeos
-- installing: /usr/local/eosio/var/log/eosio
-- installing: /usr/local/eosio/var/lib/eosio
-- installing: /usr/local/eosio/bin/cleos
-- installing: /usr/local/eosio/bin/keosd
-- installing: /usr/local/eosio/bin/eosio-launcher
-- installing: /usr/local/eosio/bin/eosio-abigen
-- installing: /usr/local/eosio/bin/eosiocpp

```